

Swimming pool construction stages: the order of 12 steps from site survey to stage payment
Pool construction starts with a site survey and a ground investigation; each of the 12 steps through design, excavation, shell, pipework, waterproofing, finish and handover closes with a checkpoint.
Project Manager · Mechatronics Engineer · Çilek Havuz
- Published
- Updated
- Reading
- 11 min read
- Category
- Pool Construction
Pool construction starts with a site survey and a ground investigation; each of the 12 steps through design, excavation, shell, pipework, waterproofing, finish and handover closes with a checkpoint.
The stages of pool construction are the technical sequence a reinforced concrete pool project follows from site survey to handover.
The order is not arbitrary: each step produces the input for the next, and each step ends with a measurable output and a stage payment point tied to it. No structural design is drawn without a ground investigation, no finish starts before the water-tightness test is passed, and no handover certificate is signed without a commissioning report. When pool construction follows this chain without skipping links, time and cost stay predictable.
This article does not repeat the general guide for people having a pool built or the article on cost. Its subject is the order in which work is done on site, what is checked at each step, which document is produced and which evidence each stage payment depends on. With a prefabricated pool some of the stages fall away; the sequence described here is for a reinforced concrete pool.
The table below gives the typical sequence of a villa pool project, the checkpoint of each step and the document it produces.
Hotel and residential complex pools keep the same order; only the durations and the number of documents increase. The durations are the average ranges of the projects we have commissioned since 1993; ground, climate and the permit process change these ranges on every project.
| Step | Work | Checkpoint | Output / document | Typical duration |
|---|---|---|---|---|
| 1 | Site survey and brief | Plot, levels, access, water and power connection point, intended use | Survey report, dimension sketch | 1 day |
| 2 | Ground investigation | Boreholes, summer and winter water table level, soil class, bearing capacity | Geotechnical report | 1-2 weeks |
| 3 | Preliminary design and quotation | Pool type (skimmer or overflow), size, depth, equipment class | Preliminary design, bill of quantities, quotation | 1-2 weeks |
| 4 | Construction drawings and structural design | Shell thickness, reinforcement, uplift, seismic joint, pipework diagram | Structural and mechanical construction drawings | 2-4 weeks |
| 5 | Permit and approval | Zoning status, municipal application; permit where the project requires one | Permit or approval letter | 2-8 weeks depending on the municipality |
| 6 | Setting out and excavation | Corner levels, slope safety, groundwater observation, perimeter drainage bed | Excavation level record | 2-5 days |
| 7 | Drainage, blinding and below-slab pipework | Perforated pipe and sump, gravel bed, blinding concrete, main drain | Drainage photographs, pipe test | 3-5 days |
| 8 | Reinforcement, formwork and shell concrete | Double layer of reinforcement, concrete cover, waterstop, pipe penetrations; C30/37, w/c ≤ 0.45 | Concrete delivery note, test samples, pour record | 1-2 weeks + 7 days curing |
| 9 | Pipework and plant room | Suction and return lines, pressure test, pump and filter installation, electrical panel | Pressure test record | 1-2 weeks |
| 10 | Waterproofing and water-tightness test | Cement-based flexible waterproofing, corner tape; 48-hour level monitoring | Water-tightness test record | 1-2 weeks |
| 11 | Finish, coping stone and surround paving | Ceramic or glass mosaic, epoxy grout, coping stone, paving sloped away from the pool | Finish checklist | 2-4 weeks |
| 12 | Commissioning and handover | First fill, water balance, automation settings, operator training | Commissioning report, handover certificate, warranty documents | 3-5 days |
The rows of the table most often skipped are 2, 7 and 10. When the ground investigation is skipped, shell thickness and drainage are set by guesswork; when drainage is skipped, groundwater lifts the empty shell; when the water-tightness test is skipped, a leak ends up under the finish and the finish has to be removed to find it. None of the three is an expensive step; what is expensive is the repair after they are skipped.
The site survey establishes the plot levels, access for the excavator and concrete mixer, the water and power connection point and the intended use of the pool.
The intended use decides the pool type: a skimmer pool needs less balance tank capacity and pipework, while an overflow pool is preferred in hotels and design-led villa projects for its surface cleaning and appearance. Because this choice sets the shell geometry, the balance tank and the size of the plant room, it is settled before the design.
The ground investigation answers two questions: the summer and winter level of the water table, and the bearing capacity of the soil. Under Archimedes' principle, when the water table rises above the pool floor, the empty shell is pushed upwards with a force equal to the weight of water it displaces; for an 8 x 4 m pool, a 1 m difference in water table means a force in the order of 32 tonnes. This figure puts the shell toe, the hydrostatic valve and the perimeter drainage into the design at step 4. The construction drawings also include the seismic joint between pool and building, the pipe penetrations and the reinforcement plan; for projects that need a permit, this file is submitted to the municipality. We prepare the municipal process and all the structural, electrical and architectural drawings required for the pool permit.
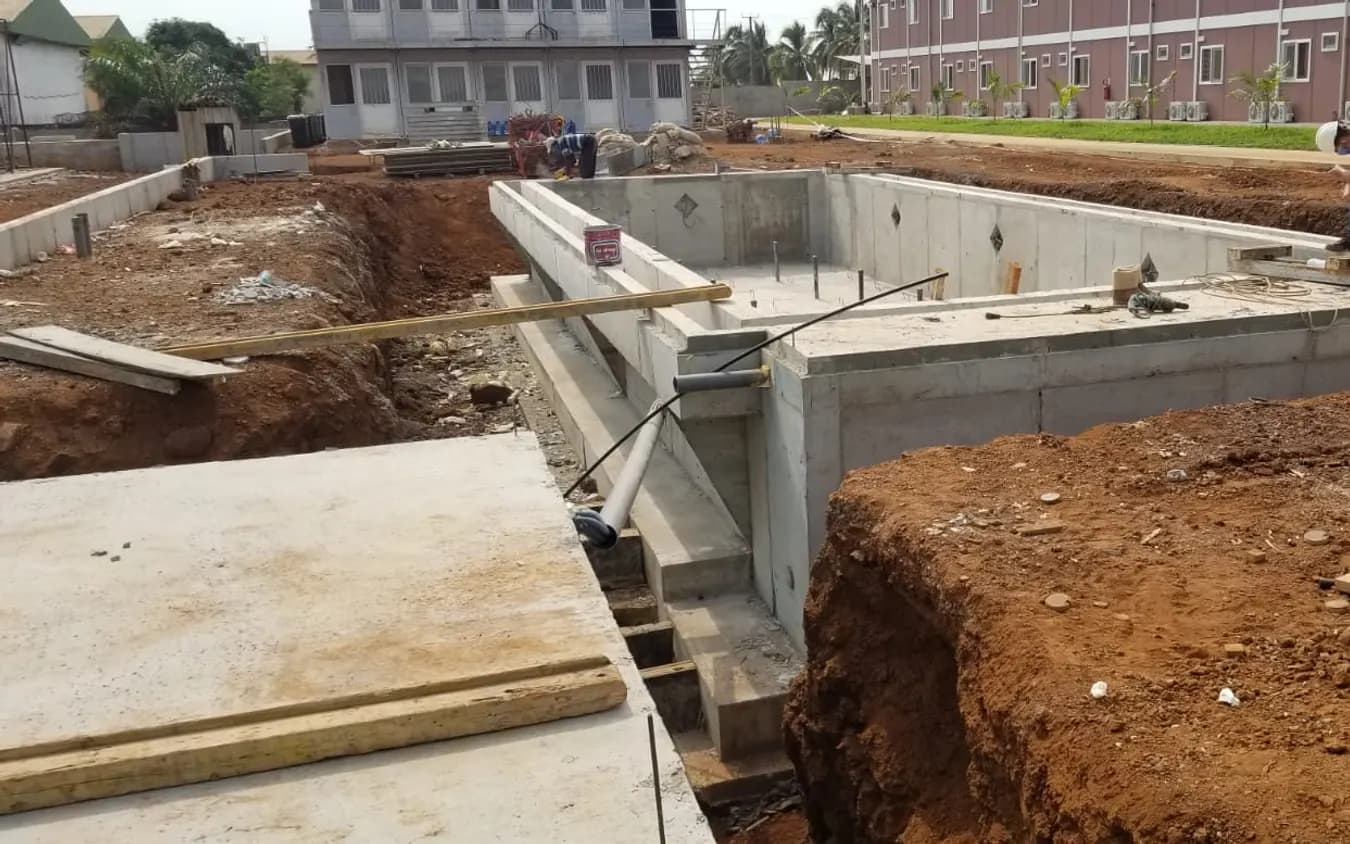
Excavation starts with setting out: the four corners of the pool and the floor level are marked on the plot, and the excavation is opened wider than the outer face of the shell by a working allowance.
Groundwater is observed and photographed during excavation; a dry excavation does not mean dry ground. At the bottom of the excavation, perforated pipe and a gravel bed for perimeter drainage are laid so that they connect to the sump; blinding concrete is poured over them and the main drain line is taken through the blinding.
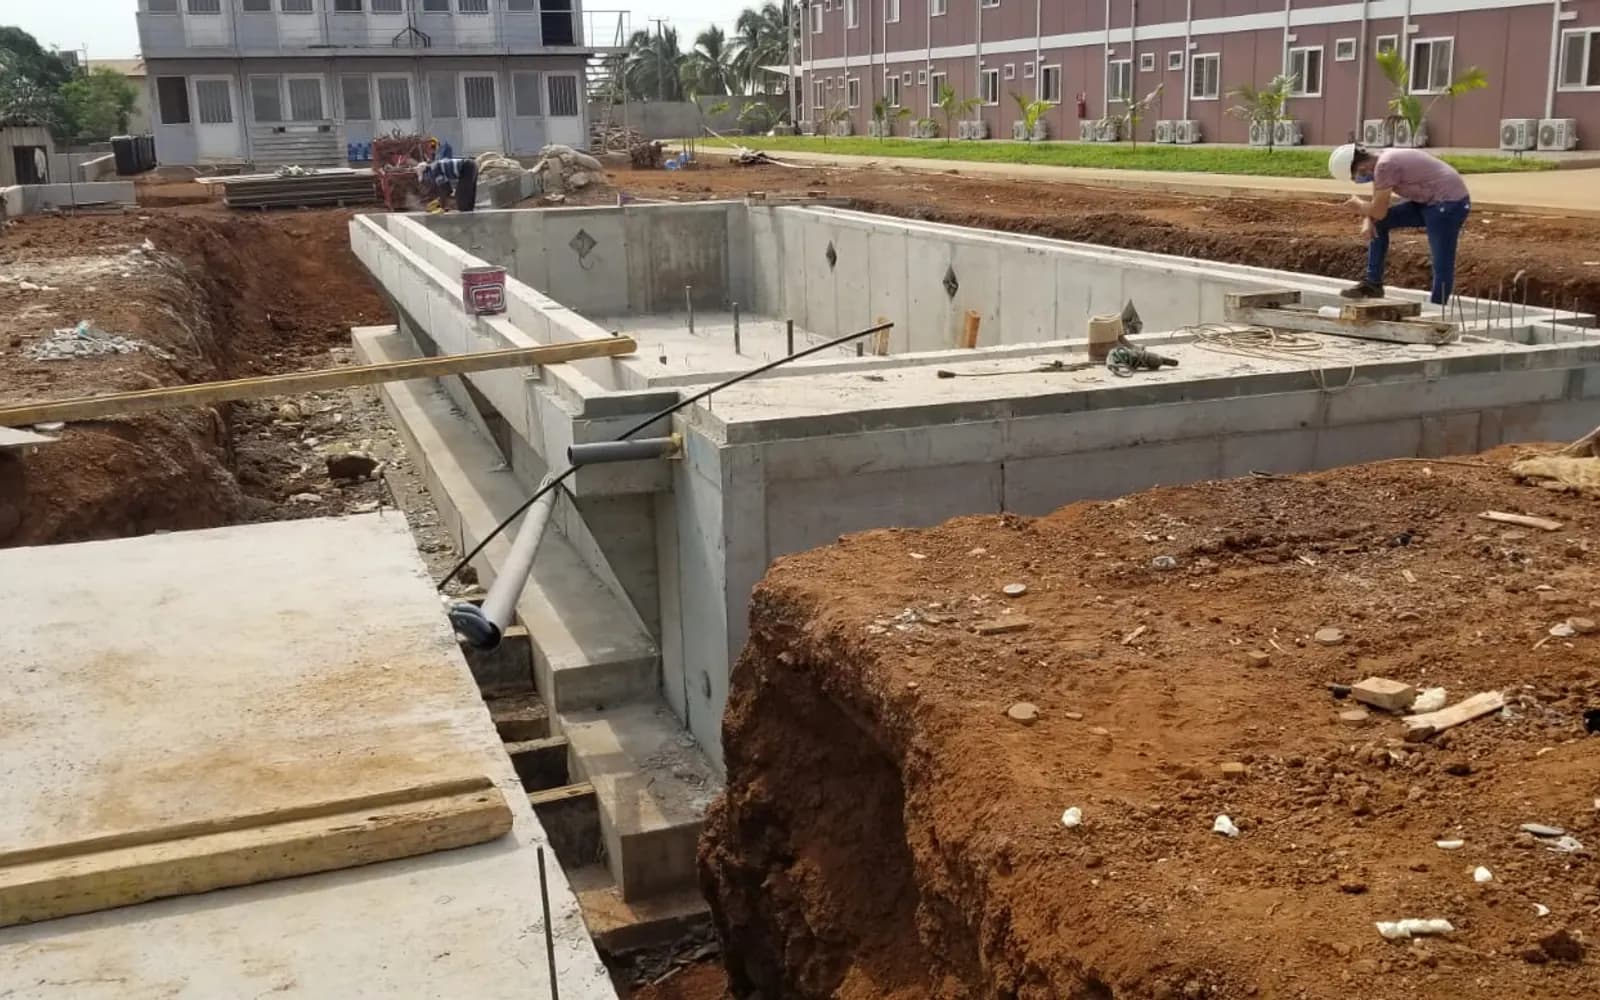
The shell concrete is the longest technical step on its own. A double layer of reinforcement is tied, cover spacers are fixed, a waterstop is placed in the floor-to-wall joint, and the skimmer, inlet nozzle and main drain sleeves are fixed to the reinforcement. The concrete arrives as class C30/37 with a water/cement ratio below 0.45; no water is added to the mixer on site, and samples are taken at every pour. Sprayed concrete or cast-in-formwork is chosen according to the design, and in both cases the shell is cured by keeping it wet for at least seven days. The structural work closes with the concrete sample results and the pour record; this stage payment depends on the concrete being poured and the samples being taken.
Structural work handover checklist
- Excavation level and shell dimensions match the design; corner levels are recorded.
- Perimeter drainage and sump are working, and the gravel bed has been photographed.
- Class and admixture are written on the concrete delivery note, samples taken, pour record signed.
- Waterstop and pipe penetration sleeves photographed before the pour.
- Curing plan applied; formwork tie holes on the shell surface sealed.
Pipework is laid while the shell is curing: suction from the skimmer or overflow channel, return to the inlet nozzles, main drain and balance tank lines are all brought together in the plant room.
Each line is capped and pressure tested, and the test record becomes an annex to the stage payment; a leak in a buried line cannot be found later without lifting the paving. The pump, filter, heat pump and dosing equipment are installed in the plant room at this step; the chemical store is planned as a separate, ventilated space away from the pump room.
Waterproofing is applied over the shell as a cement-based flexible layer, with tape at the corners and pipe penetrations. The pool is then filled and the water-tightness test is carried out: the level is monitored for 48 hours, the evaporation allowance is deducted, and the remaining loss is a leak. No finish starts before the test is passed; the rule exists because of the cost of repairing a leak that shows up after the finish is laid.
The finish starts after the water-tightness test record.
Ceramic or glass mosaic is laid with pool-grade adhesive and the joints are filled with epoxy grout; the coping stone and surround paving slope away from the pool and are connected to a rain gutter and the garden drainage. The finish checklist covers joint gaps, waterproofing under the coping stone and paving falls. This step looks the longest in duration; material supply and grout curing set the programme.
Commissioning starts with the first fill: the water is balanced (alkalinity, pH and calcium hardness, in that order), the first filter backwash is done, automation and dosing are set and the heat pump is brought into service. Operator training is given to the owner or the technical staff; the test logbook, winterising instructions and chemical storage rules are part of this training. The handover certificate is signed together with the commissioning report, as-built drawings, equipment warranty documents and the operating manual; the final stage payment depends on this file.
Glossary
- Setting out
- Marking the pool corners and levels from the design on the plot; excavation is opened according to these marks.
- Blinding concrete
- Unreinforced levelling concrete poured on the floor of the excavation; it allows the shell reinforcement to be tied on a clean, level base.
- Stage payment
- An interim payment made against a completed work item; each stage payment is tied to an inspection record.
- Pressure test
- Capping the pipelines before they are buried and monitoring their tightness under pressure; documented with a record.
- Water-tightness test
- Filling the pool after waterproofing and before the finish, and monitoring level loss for 48 hours; the evaporation allowance is deducted.
- As-built
- The final drawings made of the work as it was actually built; buried pipe routes and equipment locations are read from these drawings.
- Commissioning
- The final technical step covering first fill, water balance, filter and automation settings and operator training; it closes with a report.
The logic of the sequence derives from two engineering rules.
The first is that each step produces the input for the next: the ground investigation sets the shell, the shell sets the pipework, the pipework sets the waterproofing, and the waterproofing sets the finish. The second is to put a cheap test in front of every job that is expensive to undo: a pressure test before burying, a water-tightness test before the finish, a commissioning report before handover. Tying stage payments to these records keeps the sequence intact on site as well; payment moves with evidence.
This discipline has been carried over to pool construction from the site practice of water tanks and treatment structures. A reinforced concrete pool shell is a structure, and it proceeds like one: ground first, then design, then structural work, then finishing. The programme of a pool project is read from this sequence too; the way to shorten it is not to skip steps but to finish steps 2 to 5 before the excavation season.
Next step
Let us discuss your project in the way that suits you best.
You can fill in the form for a written quote, schedule a video project presentation or ask us to survey your project site.
Get a Quote
Send us your dimensions and expectations in writing.
Online presentation
Video project presentation
On-site survey
Inspection at your project site
// 01 · Products in this article
For the work described in this article, pool mechanical equipment.
Each card leads to the product page with its data sheet, model list and quotation.
- 8 models
- 10 models
List prices as of 9 October 2026, excl. VAT.
// 02 · Product groups
Compare the products on this topic on their category pages.
Each card leads to a product category; models, technical sheets and list prices are there.
 Product category
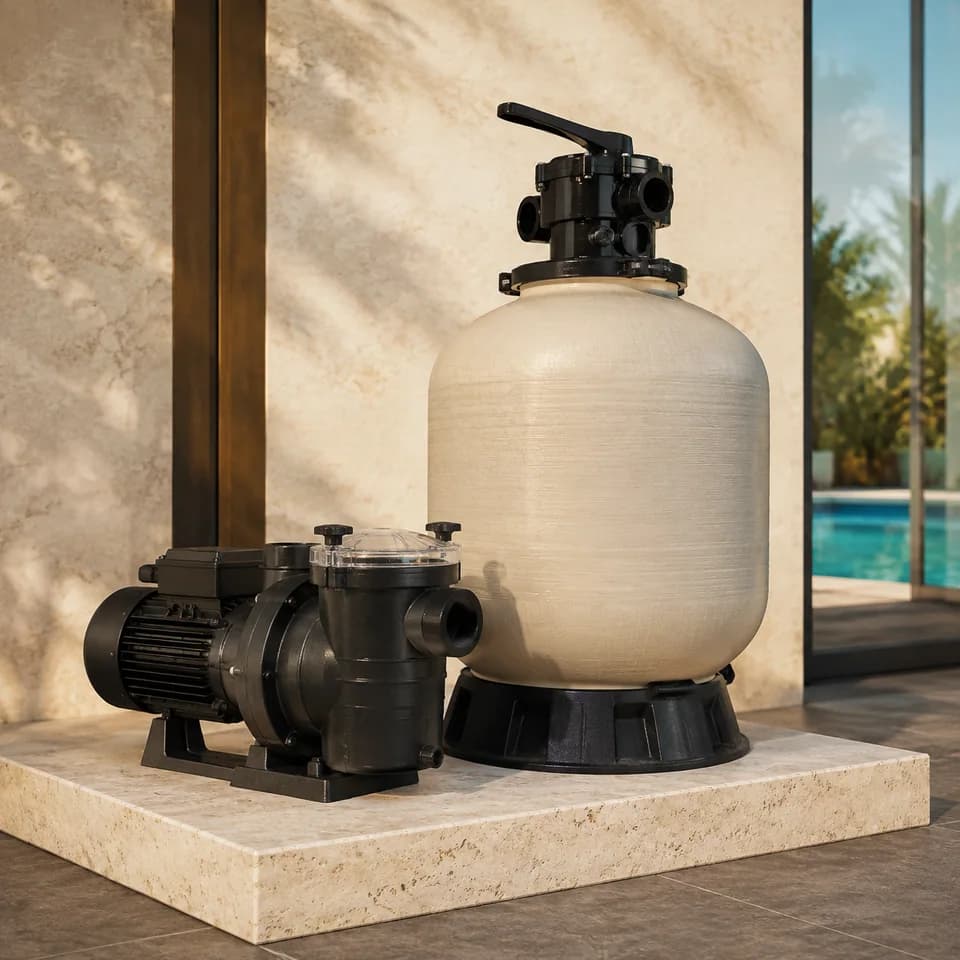
Pool Mechanical Equipment
Circulation pumps, filters, valves and automation: the mechanical infrastructure that forms the heart of the pool.
View- 65 products
 Product category
Pool Lining Systems
PVC liner, membrane, ceramic tile and glass mosaic: lining materials that make the pool watertight and form its finished surface.
View- 20 products
 Product category
Pool Disinfection Systems
Fully automatic pool water disinfection that reduces chemical use with salt electrolysis, UV disinfection and smart dosing systems.
View- 52 products
Product category
Pool Mechanical Equipment
Circulation pumps, filters, valves and automation: the mechanical infrastructure that forms the heart of the pool.
65 productsProduct category
Pool Lining Systems
PVC liner, membrane, ceramic tile and glass mosaic: lining materials that make the pool watertight and form its finished surface.
20 productsProduct category
Pool Disinfection Systems
Fully automatic pool water disinfection that reduces chemical use with salt electrolysis, UV disinfection and smart dosing systems.
52 products
// 03 · Related service
The work in this article, we deliver from design to handover.
Çilek Havuz service
Swimming Pool Construction
Reinforced-concrete, prefabricated and infinity swimming pools, built turnkey for villa, residential and commercial projects.
Swimming pool construction is a turnkey build in which the site survey, structural and mechanical design, excavation, reinforced-concrete shell, waterproofing, finish, filtration plumbing and commissioning run under a single contract. The written project schedule follows the site survey.
How we work
- 01Initial meeting and site surveyWe inspect the site and listen to the brief.
- 02Design and quotationWe give the cost item by item, in writing.
- 03ExecutionThe same team builds to a written schedule.
- 04Handover and commissioningWe start the systems and explain their use.
- 05Maintenance and technical supportWe provide periodic maintenance and support.
// 04 · Guides
On Pool Construction, more articles to read.
First the articles directly related to this one, then the newest articles on the topic.
 Pool Construction
Building a Pool From Scratch: A Step-by-Step Engineering Guide
How a pool gets built, in order: site visit and permits, design, excavation, the concrete shell, waterproofing, finishes, plant room and handover. How long each stage takes and what to check in a quote.
View- 28 May 2026
- 9 min read
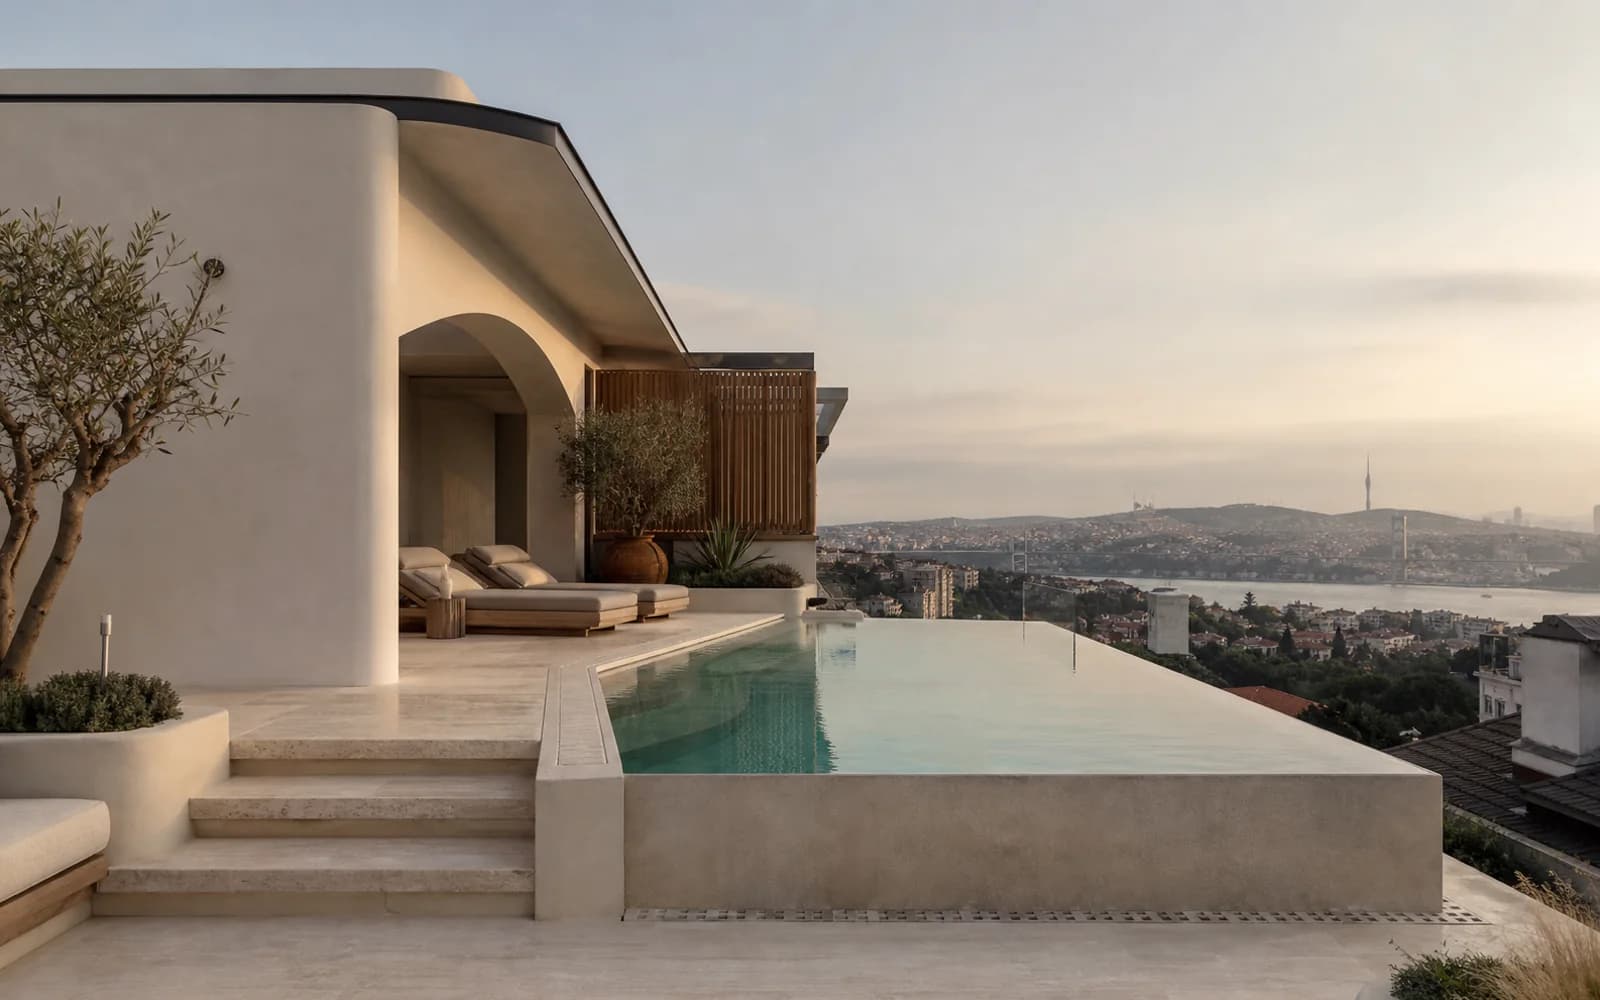 Pool Construction
Rooftop & Terrace Pools: Structure, Load and Waterproofing
Can you build a pool on a terrace or rooftop? We explain load calculation, structural reinforcement, waterproofing and seismic load as critical engineering topics.
View- 13 July 2026
- 6 min read
 Pool Construction
Pool construction in Samsun: what do climate and groundwater change?
Pool construction in Samsun is a reinforced concrete pool project shaped by a humid subtropical climate, 729.7 mm of rain a year and high groundwater in the delta alluvium.
View- 9 September 2026
- 9 min read
 Pool Construction
Choosing Pool Showers and Waterfalls: Shower Types, Water Curtains and Plumbing Needs
Choosing a pool shower, waterfall or water curtain depends on the material, where the water comes from and where it is mounted. We compare solar and stainless steel shower types and their pump and plumbing needs.
View- 2 October 2026
- 8 min read
 Pool Construction
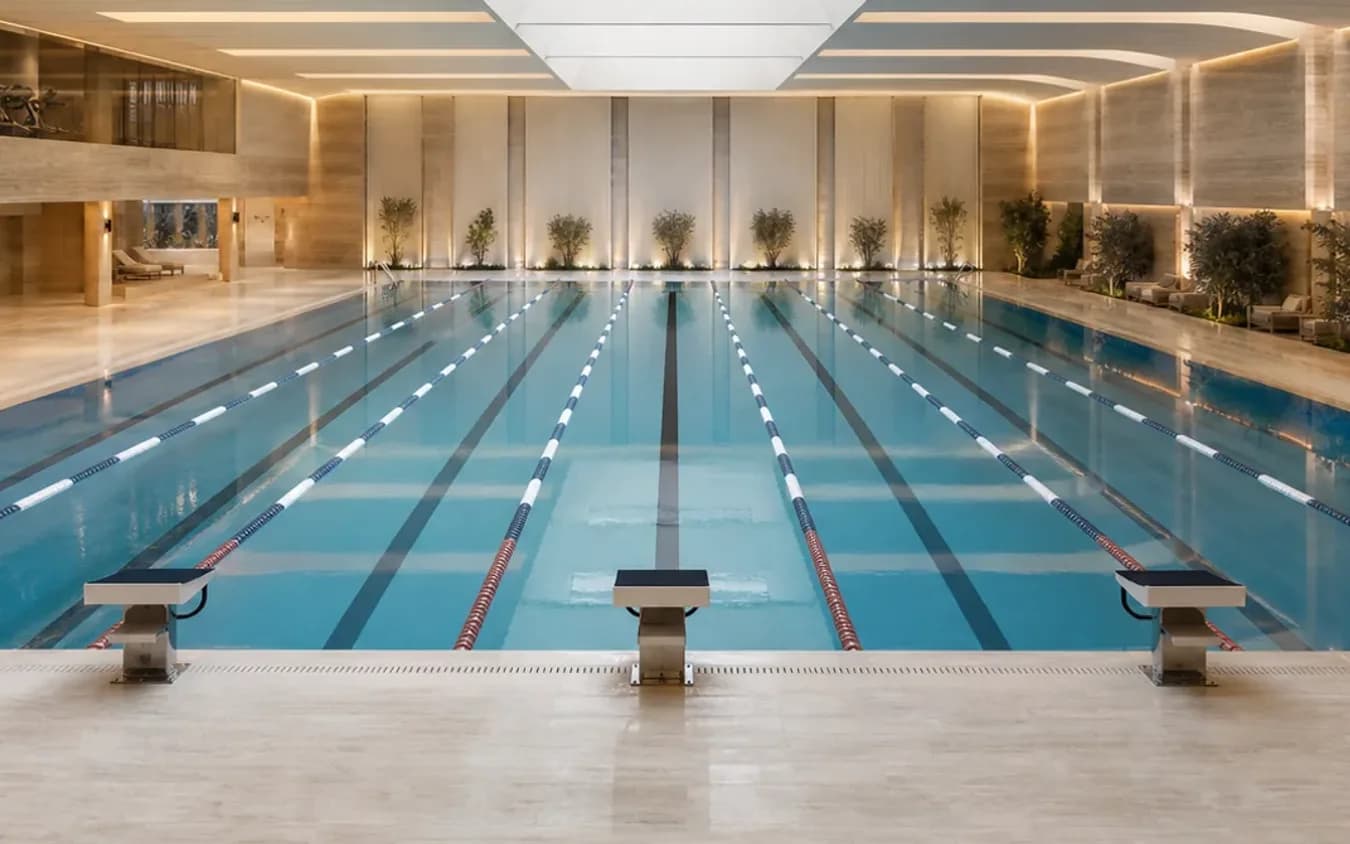
Competition Pool Equipment: Which Pool Needs Which Equipment?
Starting blocks, lane ropes, warning and turn systems, underwater speakers and water polo goals are chosen according to how the pool is used. We explain which dimensions we check for each item.
View- 2 October 2026
- 7 min read
 Pool Construction
Building a pool or spa abroad: what drives the cost of an international project?
A pool, hammam or spa project delivered abroad from Turkey has no single price per square metre. We cover design, equipment, shipping, customs and schedule.
View- 29 September 2026
- 8 min read
- Pool Construction · 28 May 2026Building a Pool From Scratch: A Step-by-Step Engineering GuideHow a pool gets built, in order: site visit and permits, design, excavation, the concrete shell, waterproofing, finishes, plant room and handover. How long each stage takes and what to check in a quote.9 min read
- Pool Construction · 13 July 2026Rooftop & Terrace Pools: Structure, Load and WaterproofingCan you build a pool on a terrace or rooftop? We explain load calculation, structural reinforcement, waterproofing and seismic load as critical engineering topics.6 min read
- Pool Construction · 9 September 2026Pool construction in Samsun: what do climate and groundwater change?Pool construction in Samsun is a reinforced concrete pool project shaped by a humid subtropical climate, 729.7 mm of rain a year and high groundwater in the delta alluvium.9 min read
- Pool Construction · 2 October 2026Choosing Pool Showers and Waterfalls: Shower Types, Water Curtains and Plumbing NeedsChoosing a pool shower, waterfall or water curtain depends on the material, where the water comes from and where it is mounted. We compare solar and stainless steel shower types and their pump and plumbing needs.8 min read
- Pool Construction · 2 October 2026Competition Pool Equipment: Which Pool Needs Which Equipment?Starting blocks, lane ropes, warning and turn systems, underwater speakers and water polo goals are chosen according to how the pool is used. We explain which dimensions we check for each item.7 min read
- Pool Construction · 29 September 2026Building a pool or spa abroad: what drives the cost of an international project?A pool, hammam or spa project delivered abroad from Turkey has no single price per square metre. We cover design, equipment, shipping, customs and schedule.8 min read
// Sources and regulations
Sources and regulations
The official documents behind the technical framework on this page; links open the institutions' own sites.
- Regulation on the Health Principles and Conditions for Swimming Pools (Official Gazette No. 27866, 6 March 2011)Official Gazette of Türkiye
- Regulation Amending the Swimming Pools Regulation (Official Gazette, 15 December 2011)Official Gazette of Türkiye
- Guidelines for safe recreational water environments, Volume 2: Swimming pools and similar environments
// 05 · Company & Contact
To talk about your project, call or write to us.
Legal Name
Çilek Havuz
Founded
1998 · Istanbul
Head Office
Çilek Plaza, Eyüp Sultan Mah. Yakacık Cd. Feshane Cd. No: 2 D:4 D:1, 34885 Sancaktepe / İstanbul
Service Area
All of Türkiye · exports to 14 countries
Branches
Kyrgyzstan · Egypt · Algeria · Iraq
Showroom
Plan a showroom visit
At our showroom in Çilek Plaza, Sancaktepe, you can discuss your project with our team. We recommend booking an appointment by phone before your visit.
Working Hours
- Monday – Friday · 08:00 – 17:30
- Saturday · 08:00 – 12:30
- Closed on Sunday
Frequently Asked Questions
About Swimming pool construction stages, frequently asked questions.
Çilek Havuz Corporate
Pool and Wellness Engineering
- Response Time
- Same day
- Channels
- Phone · Email · WhatsApp
If the answer you are looking for is not here, send your question directly to us and our team will reply as soon as possible.
+90 216 475 39 37A reinforced concrete villa pool has 12 steps. They are site survey, ground investigation, preliminary design, construction drawings, permit, excavation, drainage and blinding, shell concrete, pipework, waterproofing and water-tightness test, finish, and commissioning. Design, permit and site time vary with the ground, the municipality and the pool type; the duration is given in the written project schedule after the site survey.
Çilek Havuz Corporate
The ground investigation, perimeter drainage and the water-tightness test. All three are short and inexpensive steps; skipping them comes back as a shell lifted by groundwater, a buried leak and a finish that has to be removed. In our sequence all three close with a record, and stage payments depend on these records.
Çilek Havuz Corporate
A leak in the waterproofing is invisible under the finish; the finish has to be removed to find it. The test consists of filling the pool and monitoring the level for 48 hours, assessed after deducting the evaporation allowance. The finish does not start until it is passed.
Çilek Havuz Corporate
Look at the output of each step. The outputs are the geotechnical report, construction drawings, excavation level record, concrete samples and pour record, pressure test record, water-tightness test record, finish checklist and commissioning report. Payment is tied to these documents, not to calendar dates.
Çilek Havuz Corporate
The ground investigation and design are finished in the winter months. Excavation and shell concrete are scheduled for the spring and autumn window when rainy days are few. In midsummer heat above 30 °C concrete curing becomes difficult; if a pour is needed, night pouring and wet covers are planned.
Çilek Havuz Corporate